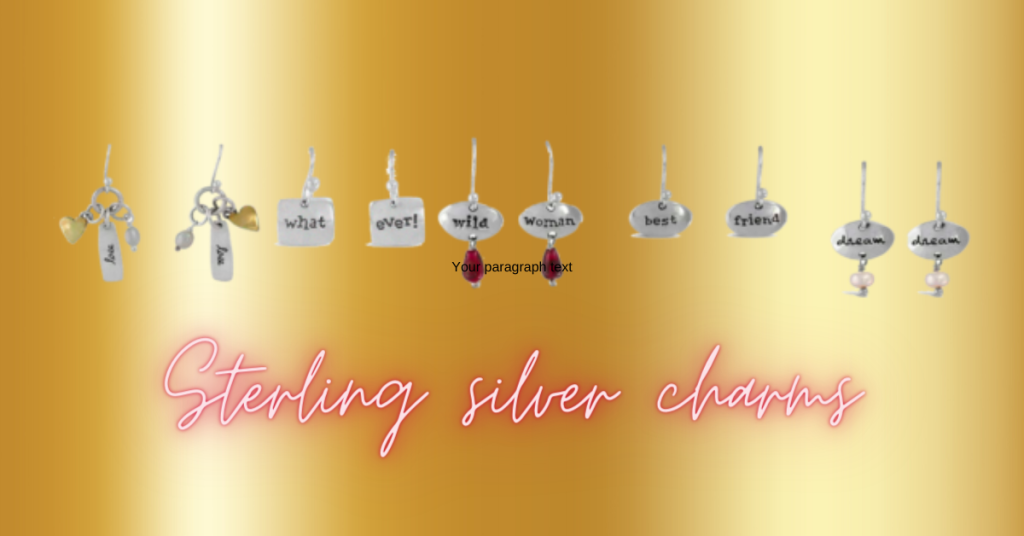
Working With Sterling Silver Charms
If you’re starting with jewelry making, one of the key things you need to prepare are your workbench supplies. Unfortunately, not all workbench supplies are equal in quality and make, and if you want to improve your output, you must also improve your supplies.
One of the easiest ways to give your crafting products a powerful flair is by amassing a good supply of sterling silver charms. Pendants are the centerpiece of so many creations, and with some design knowledge, you will surely get the best outputs.
Creating a Simple Thread Bracelet
Everyone starts with simple materials, and if you haven’t had the chance to work with wire or more expensive cords and jewelry threads, that’s fine. You can start by using pendants of different themes (like zodiac pendants) with simple embroidery thread. These sampler projects are great for mastering how thread behaves in crafting. Then, you can quickly move on to more professional-grade supplies when you get used to the movement.
String bracelets are a blast to make and offer a wide variety of design options. If you want to make a braided, chevron, striped, or knotted bracelet, you should secure your thread to a steady surface and separate the strands so they’re not tangled. Making a new string bracelet is easy, primarily if you use some brightly colored thread.
The first step is to pick a thread. Gather six lengths of embroidery thread sufficient to wrap around your wrists. Pick as few as three colors or as many as six for a bold, eye-catching bracelet. Make sure you have enough thread to tie the knots by cutting it longer than necessary. A minimum of one knot for every additional inch (2.5 cm) is required. To ensure that all threads are the same length, snip them with sharp scissors.
Make sure the thread is long enough by wrapping it around your wrist. Remove more than you’ll need. Once the bracelet is complete, you can trim the excess thread.
You must ensure that the bracelet end has enough string to tie around your wrist.
Anchor the initial point. A knot should be tied at one end of the strings while holding the other ends together. Put the thread in a neat line and hold it in one hand. Simple overhand knot, with about 2 inches (5.1 cm) of tail thread hanging out. This is the beginning of your bracelet, so tie a knot that is both secure and snug.
Before tying the knot, you can rearrange the strings to your liking. This is optional but can make organizing your colors later much more straightforward.
Tie a knot and make sure it stays tied. Wrap some tape around the end that has been knotted and stick it to a table or other stable surface. Cover the knot with tape and tape over the loose thread. Make sure the tape will keep it in place without hiding the knot. To ensure the tape has not come loose, pull on the thread. Instead of tape, you can use a clipboard. Secure the knotted end to the clipboard’s top. Divide the string into three sets of two strands each. The braid requires three colors, so if you’re using three different colors, you should group them so that you have three pairs of the same color. If that’s not possible, pair up the strings to make 3 main threads.
Bracelet activation, please. Put the three strands through a braiding needle by crossing each pair over the other two. Cut the middle pair of strings and cross them over the leftmost pair. Using the new center pair as a guide, cross the rightmost pair of strings over themselves to make a braid. It can be braided as often as desired to achieve the desired length.
Hold the strands in your hand if you want a taut string while braiding.
In the case of three sets of strings—say, a yellow set on the left, a red set in the middle, and a blue set on the right—you would first cross the yellow set over the red set and then the blue set over the yellow set.
Carry on making a braid. Do your best to get the bracelet to encircle your wrist. Carry on crisscrossing to the left and right over the center. The bracelet’s length can be adjusted while you’re braiding it. Ensure the braid goes around your wrist, leaving enough slack on both ends to tie a knot.
Finish the bracelet. Close off the bracelet by tying a knot. Then, please have a friend help you tie the knot in the bracelet as you wrap it around your wrist. Make sure your bracelet doesn’t constrict your wrist too much. Make the bracelet a bit longer to slip it over your knuckles, and then tie the knot. A snug knot here will serve to hold your bracelet together. Try tying a slip knot if you want to make your bracelet easy to put on and take off.
You can add sterling silver charms to any charm bracelet design and get great results each time.